Astonishing Steps that How to Repair SQL BAK Files
You can just follow the steps that How to Repair SQL Bak Files using SQL Backup Recovery software:
1. Firstly, go to menu bar>Programs > SQL Backup >SQL Server Backup. Software will illustrate you the subsequent display
2. Select the .bak file by just clicking on load button from the toolbar which is shown in below. Then choose the corrupt or damaged .bak file and then click to open button
3. After that tool will ask for version of the file and has Advance Scan option for highly damaged .bak file. Then click Ok.
4. It has another added option for Multiple Backup Files in which user can Add Files, Add folder containing multiple .bak file and Remove File.
5. After that click on the full backup option then Recover button.
6. After that while selecting the .bak file, software will quickly start the process of scanning and loading the selected .BAK files as shown below
7. After the software completes the process of scanning, it will show preview of the recovered elements of the .BAK file like tables, triggers, stored procedure etc.
8. If user wants to export recovered file into SQL Server then click on Export option as given below:
9. After that SQL Backup Recovery Software gives you two saving option facility - SQL Server Database (MDF file) & SQL Server Compatible SQL Scripts
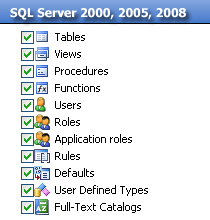
- SQL Server Database : If you are fetching your decision by choosing SQL Server Database, then software will save or import the repaired .bak file in existing SQL server database. At this users will need to provide all the database credentials such as: Server Name, Database Name, Username, Password. Then select the tables, views procedure to be saved from the left-bottom panel and finally click on Export/Save button.
- SQL Server Compatible SQL Scripts : If you will choose this option, then software will save all SQL scripts in a specific folder. At this users will need to select the tables, views procedure to be saved from the left-bottom pane and finally click on Export/Save button.
10. It also gives option to export deleted records of the table, then click yes.
11. At last you can see all the table name and count after exporting into database. Then click on Finish button.